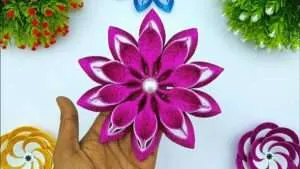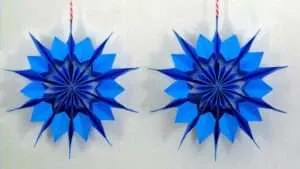
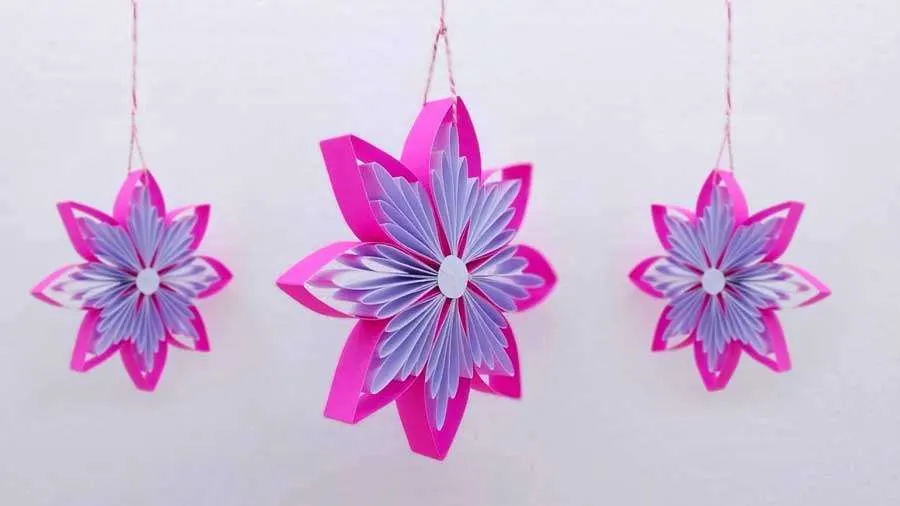
Handmade Paper Star
This season, give your home a personal touch with this handmade paper star decoration. A perfect way to commemorate the Christmas holidays, this handmade paper star is sure to be an eye-catching addition to any room in the house. With just a few simple materials, you can create your own unique and festive design that will bring holiday cheer for years to come!
Making this hanging Christmas paper decoration takes only minutes and requires minimal supplies. All you need are some colorful sheets of construction paper, scissors, and glue or tape. Once completed, you can hang up the star wherever you like! The vibrant colors and intricate design of the handmade paper star will instantly brighten up any space while adding some much-needed holiday cheer.
Decorating with Paper Stars
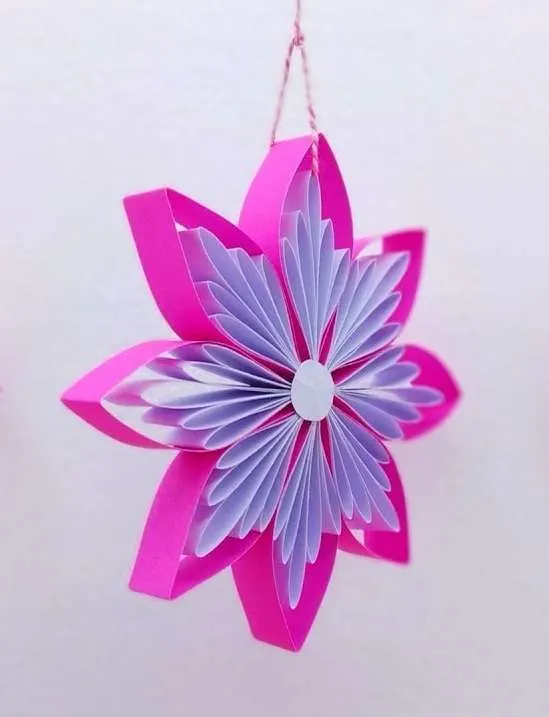
Decorating with Paper Stars is a popular holiday decor trend that can add a touch of festive cheer anywhere in the home. Simple and easy to make, paper stars are the perfect way to bring some joy and sparkle to your Christmas decorations. Made by folding small pieces of paper into intricate shapes, these lightweight stars can be hung from just about any surface to create a dazzling display.
Not only are paper stars inexpensive and fun to make, but they offer an array of creative possibilities for those looking for more than traditional holiday decorations. With various sizes available and endless ways to customize them with colors and designs, you can create unique hanging star decorations for your home or office that will stand out from the rest. Whether you choose classic white snowflakes or vibrant-colored stars, bringing festive paper star décor into your home is sure to spruce up any space this season!
Supplies Needed
The decoration is an integral part of Christmas festivities and what better way to bring more life to your home than with a handmade paper star ornament? It’s simple and easy, so let’s get started. To make this eye-catching decoration, the first step is to gather your supplies. Here are the items you’ll need: Construction paper in colors of your choice, scissors, glue stick, or hot glue gun for attaching the stars together, and optional – glitter for added sparkle.
In addition to these craft materials which can be found at any office supply store or online retailer, you will also want some string or yarn for hanging up your finished product. This helps ensure that it stays secure on whatever surface you choose to hang it from such as a wall or door frame. Once you have all of these supplies ready, we can move on to creating our beautiful handmade paper star!
Step-by-Step Instructions
Are you looking for a unique way to handmade Paper Star decorations in your home this holiday season? Create a beautiful handmade paper star decoration that is sure to be the talk of the town! This easy-to-follow step-by-step guide will show you exactly how to make your own hanging Christmas paper star decoration. All you need are some simple materials and a few hours of creativity.
With these simple instructions, you can create an amazing little star decoration that adds warmth and cheer to any space in your home. Begin by gathering all the necessary materials:
- Colored decorative paper
- Scissors
- Glue sticks
- Rulers
- Strings
Then start folding and cutting out the triangle shapes from the decorative paper following our measurements below. Once the triangles are ready, begin gluing them together using the glue stick until they form a 3D star shape.
Step 1: Cutting the Paper
Creating a beautiful Christmas paper star decoration is a fun and easy craft for the holiday season. Step 1 in making this handmade paper star is cutting the paper. To ensure an accurate shape, it is important to use sharp scissors and measure your lines precisely. Start by gathering one sheet of colored or printed cardstock, measuring 8×11 inches, and scissors with sharp tips.
Begin by folding your cardstock in half lengthwise so that you have two creases running down the middle of the page. Unfold and find the center point of each crease; these will be used as guides when cutting out your star shapes. Cut along one side of each line until you reach 1 inch away from each corner point; leave enough space to create tabs at each end that can be folded up later on for assembling the star shape.
Step 2: Gluing the Edges
For those looking to make their own holiday decorations, handmade paper stars are a great option. Step 2 in making a DIY paper Christmas star decoration is gluing the edges; this guide will provide helpful tips and tricks for achieving the perfect finished product.
Before beginning to glue the edges of your paper star, it is important to make sure you have all of your supplies close at hand. You will need scissors, a ruler, craft glue or tacky glue, and a knife. When choosing your craft glue or tacky glue, be sure to select one that is strong enough to hold both light and heavy papers together without breaking apart easily when handled.
Step 3: Hanging the Star
Step 3: Hanging the Star is the final step of making a beautiful and unique Christmas paper star decoration for your holiday décor. To make this handmade paper star, you will need 12 strips of paper cut into 5-inch pieces. You will also need a flat surface to work on, scissors and tape.
Once you have all the items, it’s time to put everything together! Start by folding each strip in half lengthwise and creasing it with your fingers so that it looks like an accordion. Then take two strips at a time and connect them at their centers with scotch tape or glue until they form a pentagon shape.
Continue doing this until all 12 strips are connected to create your star shape. Finally, hang up your beautiful handmade Christmas paper star decoration in any room you choose – or even outside during those cold winter months!
Creative Ideas for Display
Christmas is the time of year when people can get creative and explore new ways to decorate their homes. One way that has become increasingly popular in recent years is a handmade paper star hanging decoration. It’s an easy, inexpensive way to add some festive cheer and sparkle to any room or hallway in your home.
This article will look at how you can make this unique, attractive Christmas decoration from paper and other materials, as well as provide some creative ideas for displaying it around your home.
This kind of decoration is simple enough for novice crafters to create but looks stunning when hung up on a wall or ceiling. You can use whatever colors and patterns you desire, making them perfect for a more personal touch of holiday cheer. Whether made from origami paper or card stock cut-outs, these stars bring life into any room with their bright colors and intricate designs.
Hanging & Displaying
Are you looking for a way to spruce up your home décor this holiday season? Hanging and displaying Christmas paper star decorations is a great way to give your home the perfect festive touch. This article will guide you on how to make a beautiful handmade paper star decoration so that you can add some sparkle and joy to your home this Christmas.
Making these decorations is relatively simple and only requires some sturdy colored paper in different hues, glue or double-sided sticky tape, scissors, a ruler, and possibly some drawing pins or twine. You’ll need to cut out 5 identical triangles of each color before folding them into pyramid shapes, gluing the edges together at each point until it forms an overriding pentagram shape – known as the five-pointed “star” of course!
Variations & Ideas
Christmas decorations are the perfect way to spread holiday cheer. One of the most popular DIY decorations is the hanging paper star decoration, which can be made from a few simple materials like colored paper and string.
his type of decoration is easy to make and customize depending on your preference. You can choose any color or pattern that you’d like for your stars, as well as incorporate various shapes or sizes into the design. With this kind of flexibility, it’s easy to create something truly unique that will stand out in any room!
Additionally, changing up details such as adding ribbons or glitter can add an extra special touch to your handmade paper star creation. These hanging stars are sure to bring a festive mood wherever they’re placed and make a great addition to any home during the holiday season!
Tips for Best Results
Creating an eye-catching Christmas paper star decoration for your home doesn’t have to be a challenge! With these tips, you can easily create a beautiful, handmade paper star that will bring holiday cheer into your home.
Start off by gathering the necessary materials: colored papers, scissors, glue, and string. Once you have all of your supplies ready to go, follow these steps for the best results. First, cut out two identical five-pointed stars from a sheet of paper. Make sure they are the same size and shape.
Then use another piece of paper to make small cuts around its edges to create fringes, which will be glued onto the center of one of the stars. Finally, use glue to connect both stars together with the fringe in between them and let dry before hanging up with string or twine on your wall or window frame.
Conclusion: Create a Festive Look
It’s time to bring out the holiday cheer and create a festive look with this handmade paper star decoration. This unique and easy-to-make decor can be hung in any room of your home, bringing a touch of Christmas magic wherever you decide to hang it. Whether you are looking to add some sparkle to your living room or enhance the ambiance in your bedroom, this beautiful handmade paper star will do just that!
This simple project is moderately easy and requires minimal materials. All that’s needed is colored construction paper, scissors, glue, a ruler, and a pencil. Once gathered together, the process is quick – taking no more than an hour from start to finish – leaving plenty of time for you to enjoy the new addition to your home.